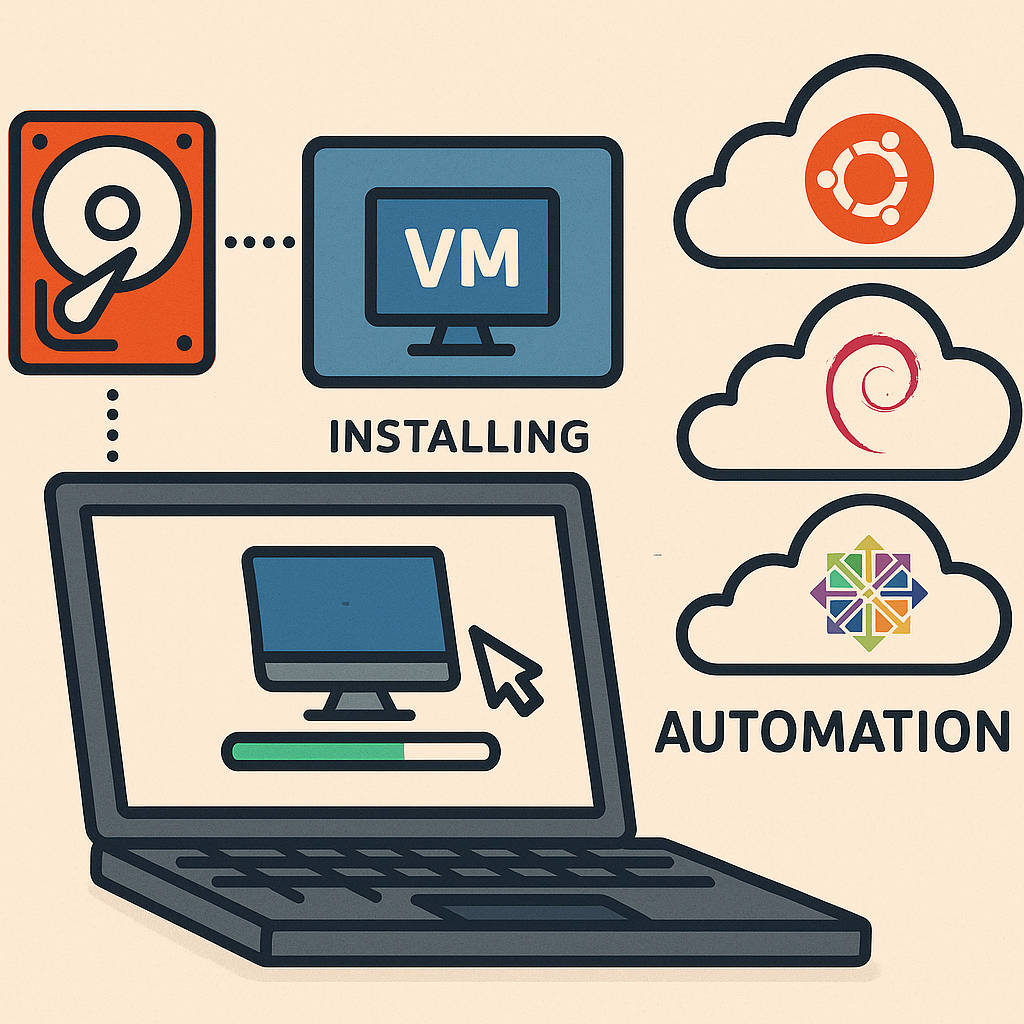
Introduction
Using official vm (virtual machine) images provided by Linux distributions like Canonical (Ubuntu), Debian, and CentOS offers several practical advantages, particularly when deploying virtual machines (VMs) in KVM, cloud, or data center environments. Here’s a breakdown of the key benefits:
Ready-to-Use
- Pre-installed, minimal base systems that are ready to deploy.
- Saves setup time compared to manual installations.
Secure and Updated
- Maintained by official teams with regular security patches and updates.
- Trusted sources with verified checksums and signatures.
Optimized for Virtualization
- Pre-configured with virtio drivers, cloud-init, and tools like
qemu-guest-agentfor better VM performance.
Automation-Friendly
- Full support for automation tools like cloud-init, Ansible, and Terraform for scalable deployment.
Standardization
- Ensures consistent environments across development, testing, and production.
Wide Compatibility
- Tested on platforms like KVM, libvirt, OpenStack, VMware, and public cloud providers.
Variety
Available in different versions: minimal, LTS, cloud-optimized, etc.
Official vm images can be found on the distribution website:
A few notes:
- This article uses Ubuntu 20.04 LTS as the host OS. As a result, the examples will work under Debian as well.
- sudo is omitted everywhere. If you don’t have enough rights, run the command via sudo.
Getting Started with vm images
Install Virtual Machine Manager and click on the interface to create a virtual machine. Everything is simple there.

Password for logging in vm images
After creating and starting the virtual machine, we understand that we do not know the login and password for logging in. We also do not know the root password. Then we must set it ourselves.
- Stop the virtual machine
- Install the libguestfs utility:
apt install libguestfs-tools- Set the root password:
virt-customize -a bionic-server-cloudimg-amd64.img --root-password password:coolpass- We launch the virtual machine and try our new password.
Mounting an image to the host system
Mounting the image gives us full access to the file system and allow us to modify it content directly. You can change the password, upload files, view logs, etc.
Before mounting the image, the virtual machine must be turned off. Basically, the set of commands for mounting and unmounting is immediately formatted as a bash script. This gist is taken as a basis: https://gist.github.com/shamil/62935d9b456a6f9877b5.
#/bin/bash

MNTPATH=/mnt
IMGPATH=/home/andrey/qemu/kernel-lab-deb11.qcow2

mount_img () {
    modprobe nbd max_part=8
    qemu-nbd --connect=/dev/nbd0 $IMGPATH
    sleep 1
    mount /dev/nbd0p1 $MNTPATH
}

umount_img () {
    umount $MNTPATH
    qemu-nbd --disconnect /dev/nbd0
    rmmod nbd
}

if [ "$1" = "mount" ]
then
    mount_img
elif [ "$1" = "umount" ]
then
    umount_img
fi
The sleep 1 command in line 9 simply waits for the qemu-nbd command to finish. Otherwise, the device may not have time to hook up.
However, the /dev/nbd0p1 partition may have a different name. To find out, use the command:
fdisk /dev/nbd0 -lSetting a password using Cloud-Init
A good article is here: https://sumit-ghosh.com/articles/create-vm-using-libvirt-cloud-images-cloud-init/. Below we will consider the main points and problems.
Cloud-Init has a large number of data sources. We will use one called NoCloud (https://cloudinit.readthedocs.io/en/latest/topics/datasources/nocloud.html).
So, let’s say we want to set a password for root abc123. Let’s generate it for the salt we chose ourselves. In a real situation, you don’t need to specify the salt—it generates randomly. But in this particular case, the reader can verify that everything works correctly.
andrey@andrey-home:~/qemu$ openssl passwd -6 -salt abcsalt abc123
$6$abcsalt$MWTdm3MZHh2yOG2/WAnDuSh6NdHuY.eX3Y3BlGiFYOi6R0deuHgDStLY7PGKOcEXUcSNFQdqaiqJgCgYfQP9J0
Create a meta-data file:
instance-id: andreyvm1
local-hostname: andreyvm1
Create a user-data file:
#cloud-config

users:
  - name: andrey
    lock_passwd: false
    passwd: $6$abcsalt$MWTdm3MZHh2yOG2/WAnDuSh6NdHuY.eX3Y3BlGiFYOi6R0deuHgDStLY7PGKOcEXUcSNFQdqaiqJgCgYfQP9J0
    sudo: ['ALL=(ALL) NOPASSWD:ALL']
    groups: sudo
So, let’s throw them into one image:
genisoimage -output cidata.iso -V cidata -r -J user-data meta-dataMount this image in Virtual Manager:
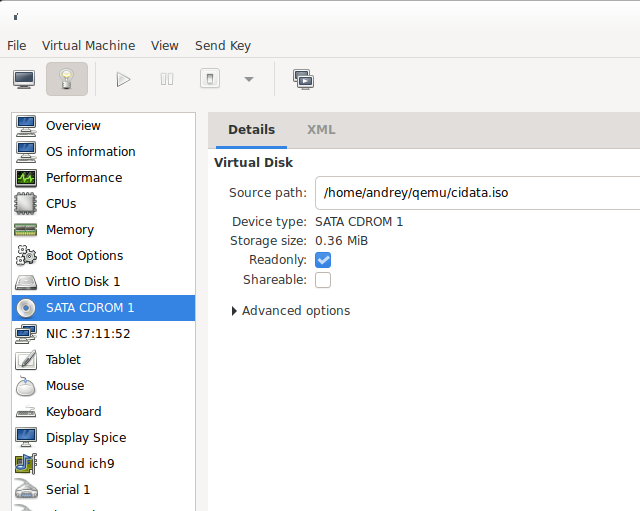
After this, we launch the virtual machine, and the system sets the password.
Resizing a vm image
Everything is simple here. One command:
qemu-img resize kernel-lab-deb11.qcow2 +18GWhen loading, the operating system will automatically increase the size. Very convenient!
Conclusion
Using official VM images from distributions like Ubuntu, Debian, and CentOS offers a fast, secure, and reliable way to deploy virtual machines. These images are pre-configured for virtualization, support cloud-init for automation, and are regularly maintained for security and compatibility. By following the steps outlined—such as mounting, configuring access, and resizing—you can efficiently customize and manage your VM environment to meet your specific needs. This approach streamlines deployment, ensures consistency, and reduces setup time across both development and production systems.